Chinese

Detailed Explanation of the Three-Step Application Process for Nickel Labels (Electroformed Nickel Self-Adhesive Labels)
Nickel labels—also known as electroformed nickel metal transfer labels—consist of a nickel metal design, adhesive backing, release paper, and a surface transfer protection film. The application process comprises three core steps: **surface pretreatment, alignment and pressure application, and removal of the transfer film.**
Step 1: Surface Pretreatment (Preparation)
> Purpose: To ensure strong adhesion and prevent edge lifting, air bubbles, or detachment.
1. The surface of the workpiece must be **dry and free of oil, dust, and mold release agents**. Ideally, wipe it with alcohol and allow it to dry completely; ensure no water residue remains.
2. For curved workpieces, ensure the curvature is not excessive; avoid waxy residues on plastic or leather surfaces; for surfaces with grooves or raised areas, ensure the bonding surface is flat.
3. Recommended ambient temperature is 15–35°C. If applied in low-temperature environments, heat and pressure must be maintained afterward to ensure sufficient adhesive strength.
> Common defects: Oil or dust on the surface leads to edge lifting or partial detachment of the nickel label later on.
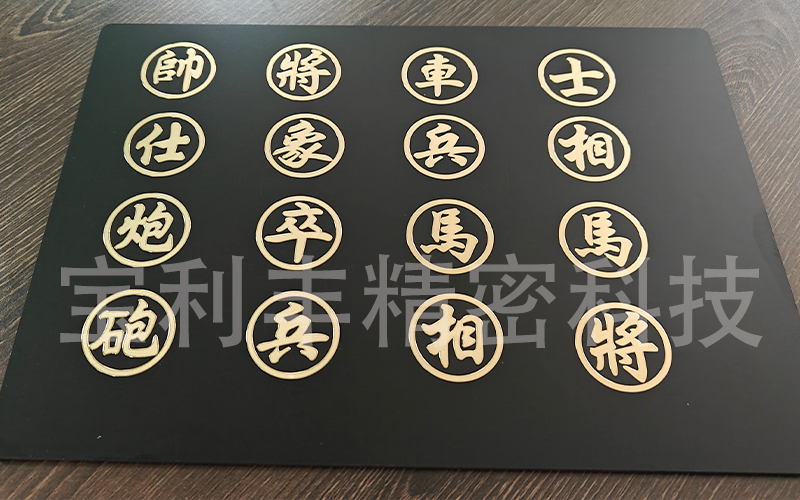
Step 2: Alignment and Pressure Application (Core Attachment)
Nickel labels come in two structural types: **transfer film versions** (characters adhered to a transparent PET film) and **self-adhesive versions with release paper**.
### Transfer Film Version (Most common segmented nickel label)
1. Peel off the bottom release paper while retaining the top transparent transfer film; the nickel characters remain attached to the transparent film.
2. Align with the target position on the product and lay it flat; avoid misalignment or stretching the nickel label.
3. Using a rubber squeegee or your fingers, **apply even pressure while smoothing from the center outward**. Press down repeatedly over the entire label area to expel all air bubbles and ensure the adhesive backing fully bonds with the workpiece surface. For leather or soft materials, some processes require heat pressing (at 60–80°C); allow the label to cool before removing the transfer film.
Self-Adhesive Version (with Release Paper)
Peel off the backing paper, align the label with the target position, and press down firmly and evenly across the entire surface. > Common issue: Insufficient pressure; the nickel characters fail to adhere to the product and are pulled away along with the transfer film during removal.
Step 3: Peel off the transfer protective film to complete the application
1. Press firmly and let it sit for 10–30 seconds to allow the adhesive to fully activate.
2. **Slowly peel off the transparent surface transfer film at a sharp 45° angle**; do not pull straight up with force, as this may lift the nickel characters off the surface.
3. After peeling, lightly press over the nickel label again to ensure all characters remain securely on the workpiece surface without missing parts or misalignment.
> If the nickel label comes off with the film: This indicates insufficient pressure or surface contamination (e.g., oil). Immediately lay the film back down and re-apply pressure; do not force the film off.
Key Precautions
1. The nickel label is extremely thin (0.04–0.12 mm); avoid excessive stretching, as this can deform the characters.
2. Use high-adhesion nickel labels for outdoor or high-temperature applications; for plastic parts, consider the corrosiveness of the adhesive to prevent stress whitening.
3. Maximum bond strength is reached 24 hours after application; avoid vigorous rubbing or scraping immediately after application.