Chinese

How are colors applied to metal labels? (Three main process categories + color mixing/application methods)
Metal labels generally fall into three categories: etched metal nameplates, electroplated metal labels, and self-adhesive metal stickers (such as nickel foils or brushed metal labels). The production methods differ significantly; practical approaches for each are outlined below.
Category 1: Etched metal nameplates (copper, aluminum, and stainless steel—the most common types)
Principle: Etching creates recessed areas (grooves) → color is filled into the recesses, while the surface retains the natural metal finish.
Metal base colors: Stainless steel = silvery-white; Brass = gold; Aluminum = bright silver; Red copper = reddish-copper.
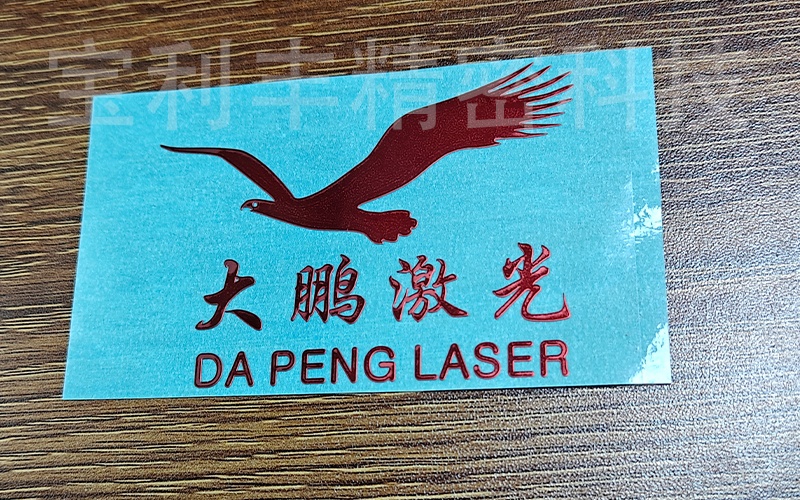
Two mainstream coloring methods:
Method 1: Baking enamel fill (the top choice for durability)
1. Etch the recessed text/grooves; degrease, clean, and dry.
2. Mix the baking enamel color (pigment powder + base enamel paint + thinner).
3. Paint application: Use a squeegee to fill the recesses with paint and scrape off the excess from the surface.
4. Baking: Cure at 120–150°C for 20–40 minutes.
5. After cooling, polish the surface and remove the protective film to reveal the metal finish.
Method 2: Liquid fill (enamel paint / quick-drying ink; suitable for small batches)
Suitable for thin nameplates and nickel metal labels.
Materials: Enamel paint, nameplate filling paint, slow-drying thinner.
Process: Dispense paint into the recesses using a needle-tip pen or dropper; wipe away any overflow from the surface using thinner or alcohol; allow to air dry or dry at low heat.
Metal stickers that cannot withstand high-temperature baking (such as ultra-thin nickel labels) cannot use the baking enamel method; they must use the liquid fill method.
Category 2: Electroplating / Anodizing and Coloring (The metal itself changes color; this is not paint)
1. Aluminum Nameplates – Anodized Coloring
After anodizing, aluminum can be dyed: gold, black, bronze, blue, or red.
Process: Polishing → Degreasing → Anodizing → Dye bath immersion → Sealing.
The color permeates the metal surface layer; it does not fade or peel off, as it is not a surface paint coating.
2. Electroplating (Plating Color)
A layer of a different metal is plated onto the base metal, providing its own color:
Nickel plating: Silvery-white
Gold plating: Golden yellow
Bronze plating: Bronze color
Black nickel plating: Matte black
Electroplated colors cannot be freely customized to any hue; they are limited to metallic tones. Achieving other colors generally requires a post-process spray painting step.
Category 3: Self-adhesive Metal Stickers (Ultra-thin nickel foil labels, metal logo stickers, mobile phone/gift decals)
Most "metal stickers" on the market are electroformed nickel labels.
2 Coloring Methods
1. Back-side color filling (Highly recommended! Paint is not visible from the front)
Nickel labels feature cut-outs or raised metal elements; color is filled from the back, so the front shows only the metal and the color showing through.
Advantages: The front retains a pure metallic texture, and the ink cannot be scratched off.
2. Front-side spray painting
Colored paint is sprayed onto the metal surface; the disadvantage is that it scratches easily, so this method is rarely used.
Category 4: Practical Color Mixing (How to mix paint colors)
Paints for metal labels are industrial-grade inks; do not use ordinary gouache or watercolor pigments!
Reference Ratios for Basic Color Pastes (Epoxy Paint)
Gold: Transparent yellow + small amount of red + trace amount of black; for bright gold, add a little pearlescent gold powder.
Bronze: Yellow + red + large amount of black.
Silver: Clear varnish + aluminum silver powder.
Black: Add black paste sparingly; do not add too much at once.
Metallic/Pearlescent Effect: Must add pearlescent powder, aluminum silver powder, or copper-gold powder; standard color pastes lack metallic luster.